 how-to
New Construction Home Inspection Checklist: East Valley Guide
Table of Contents
- Why New Construction Home Inspections Matter
- Foundation and Structural Integrity
- New Construction Home Inspection Checklist: What to Examine
- Common Defects in New Build Homes
- Is a Home Inspection Necessary for New Construction
- Pre-Drywall vs. Final Walkthrough Inspections
- Using Your Inspection Report to Enforce Builder Warranties
- Conclusion
Last Updated: August 30, 2026
Why New Construction Home Inspections Matter
A new construction home inspection is a critical step in protecting your investment, even though the builder has already completed construction and obtained municipal approval. Many homebuyers assume that new homes don't need inspections because they're brand new and come with builder warranties. This assumption often leads to expensive problems down the road.
New construction homes can have defects ranging from minor cosmetic issues to serious structural problems. Foundation cracks, improper grading that causes water intrusion, HVAC systems installed incorrectly, and electrical wiring safety violations all occur in newly built homes. The builder's municipal inspection covers compliance with building codes, but it doesn't catch everything, and it certainly doesn't protect your specific interests as the new owner.
A thorough new construction home inspection checklist gives you use before you sign final documents. You can request repairs, credits, or walk away entirely if problems are severe enough. After closing, you lose that negotiating power.
The inspection also documents the home's condition at purchase, which becomes critical if you need to enforce your builder warranty later. Builders often dispute warranty claims by arguing the damage existed before you took ownership. A professional inspection report with photos and detailed notes proves otherwise.
Foundation and Structural Integrity
The foundation is the most critical component of any home. If the foundation fails, everything above it fails too. In the East Valley, foundation problems are particularly common because of the region's expansive soil and intense heat cycles that cause concrete to crack and shift.
Start by examining the foundation for visible cracks. Hairline cracks (less than 1/8 inch wide) are normal in concrete and usually not a concern. Wider cracks, stair-step patterns in brick or block, or cracks that run horizontally across the foundation wall are red flags. These indicate structural movement or settlement problems that need professional evaluation.
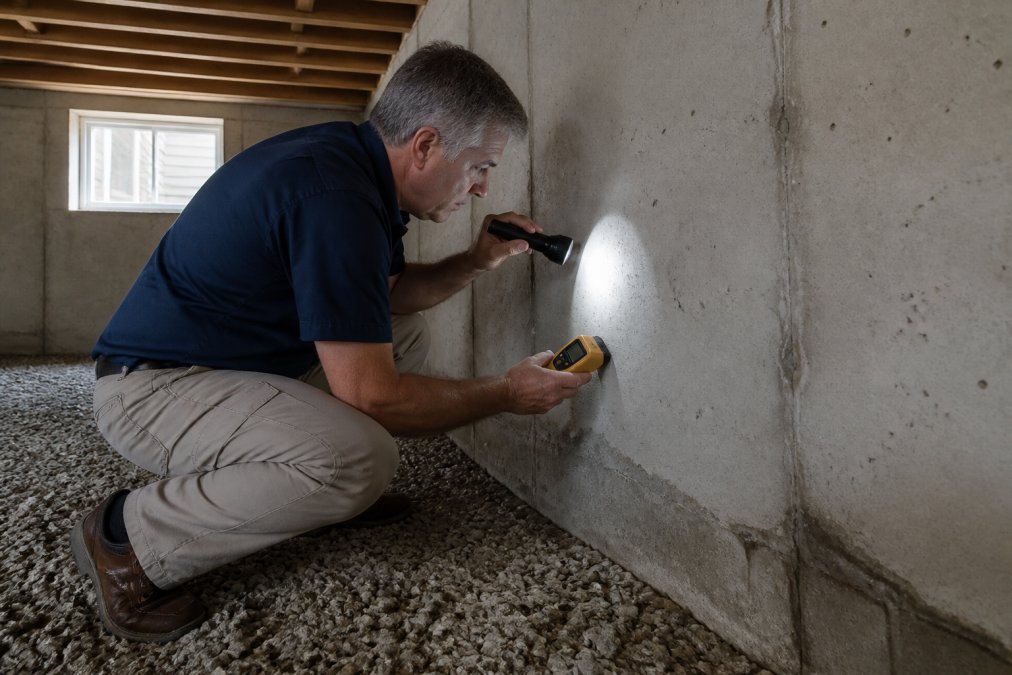
Check the grading around the foundation. The ground should slope away from the house at a minimum 5% grade (about 6 inches of drop over 10 feet) for at least 10 feet in all directions (iccsafe.org). Poor grading allows water to pool against the foundation, causing moisture intrusion and structural damage. East Valley homes are particularly vulnerable because heavy monsoon rains can overwhelm inadequate drainage systems.
Look for efflorescence, white, chalky deposits on the concrete. This indicates water is moving through the foundation, carrying minerals to the surface. While not immediately dangerous, it signals moisture problems that will worsen over time.
Examine the basement or crawl space for water stains, mold, or standing water. Even small amounts of moisture indicate drainage problems. Ask the inspector to check soil composition if possible, caliche (a hard limestone layer common in East Valley soil) can prevent proper drainage and cause serious foundation issues.
Load-bearing walls should be checked for proper support and alignment. These walls carry the weight of the structure above them. Improper framing, inadequate support posts, or undersized beams are serious structural defects that require immediate correction.
New Construction Home Inspection Checklist: What to Examine
A comprehensive new construction home inspection checklist covers every major system in the house. Think of this as your roadmap during the walkthrough. You won't catch everything the professional inspector will, but knowing what to look for helps you ask the right questions and spot obvious problems.
Roofing and Gutter Systems
The roof is your home's primary defense against weather. Check that shingles are properly installed with no missing pieces, curling, or buckling. In the East Valley's intense heat, shingles can deteriorate faster than in other climates, so verify the roofing material is rated for extreme temperatures.
Gutters should be properly pitched to drain water away from the house. Look for sagging sections, improper seams, or gutters that aren't securely fastened. Downspouts should extend at least 4-6 feet away from the foundation, longer in areas with poor drainage.
Verify that roof vents, chimney flashing, and skylights are properly sealed (nachi.org). These are common leak points. Check attic ventilation to ensure proper airflow, which prevents moisture buildup and extends roof life in hot climates.
HVAC System Evaluation
The HVAC system must be properly sized for your home. An undersized system won't cool adequately in East Valley summers, while an oversized system cycles on and off inefficiently, wasting energy. Ask for documentation showing the system was sized according to industry standards (Manual J calculation).
Check that all ductwork is properly sealed and insulated, especially in attics and crawl spaces. Leaking ducts waste energy and reduce cooling efficiency. Connections should be sealed with mastic or metal-backed tape, not duct tape, which deteriorates quickly.
The thermostat should be properly installed and functioning. Test it to verify the system responds correctly. Check that the air handler is properly mounted and that the condensate drain is clear and sloped correctly to prevent water damage.
Inspect the outdoor condenser unit for proper installation, clearance from obstructions, and secure mounting. Verify refrigerant lines are properly insulated and sealed.
Plumbing and Water Pressure Testing
Water pressure should read between 40-80 PSI (pounds per square inch) at the main water supply (the CDC). Pressure below 40 PSI indicates weak flow; above 80 PSI can damage fixtures and appliances. Ask the inspector to perform pressure testing.
Check all visible plumbing for leaks, proper slope, and secure fastening. Supply lines should be copper, PEX, or approved plastic, never galvanized steel in new construction. Drain lines should slope at least 1/4 inch per foot toward the main drain.
Test all fixtures, sinks, showers, toilets, to verify they drain properly and don't leak. Run water in multiple fixtures simultaneously to check for pressure loss. Verify hot water reaches fixtures in reasonable time.
Examine the water heater installation. It should be properly vented, have a temperature and pressure relief valve, and be securely strapped. Check the temperature setting, typically 120°F is recommended.
Electrical System and Wiring Safety
The electrical panel should be properly labeled with circuit breakers clearly identified. Verify the main breaker is properly sized and functioning. Check that the panel has adequate space for future expansion (at least 25% of breaker slots should be empty).
All outlets should be properly grounded and functioning. Test outlets with a circuit tester to verify proper wiring. GFCI (ground fault circuit interrupter) outlets should be installed in bathrooms, kitchens, and any area near water.
Verify that all wiring is properly installed in conduit or cable trays where exposed. No wiring should be damaged, pinched, or improperly supported. Check that all connections are secure and properly terminated.
Light fixtures should be properly installed and functioning. Verify ceiling fans are securely mounted and operate smoothly. Check that all switches control the correct fixtures.
Common Defects in New Build Homes
Despite being brand new, construction homes frequently have defects that escape the builder's quality control process. Understanding common problems helps you know what to look for during your inspection.
Punch list items are minor defects the builder acknowledges but promises to fix after closing. Paint touch-ups, caulking gaps, and missing hardware are typical punch list items. The problem is that many builders never complete punch list work, or they do it poorly. Get everything in writing before closing, and consider holding back a percentage of payment until work is completed.
Moisture intrusion is one of the most costly defects in new construction. Poor grading, inadequate flashing around windows and doors, or improper caulking allows water inside walls where it causes mold, rot, and structural damage. This damage often doesn't appear until months after closing when it's too late to claim the builder caused it.
HVAC ductwork is frequently installed incorrectly. Leaking seams, improper connections, and poor insulation waste energy and reduce cooling efficiency. In the East Valley's extreme heat, an inefficient HVAC system means sky-high utility bills.
Framing defects include improper spacing of studs, inadequate blocking, or undersized beams. These structural issues can cause sagging floors, cracked drywall, and long-term settling problems. Load-bearing walls must be engineered and installed correctly, this isn't an area where builder shortcuts are acceptable.
Plumbing leaks are common in new construction, especially at connection points. Shoddy workmanship, improper materials, or inadequate testing before closing can result in water damage that spreads through walls and subflooring.
Is a Home Inspection Necessary for New Construction
The short answer is yes, a professional new construction home inspection is absolutely necessary, regardless of the builder's reputation or the builder's warranty. Builder warranties don't cover everything, and they don't protect you before closing.
Builders are motivated to complete homes quickly and move to the next project. Quality suffers when timelines are tight. A professional inspector catches defects the builder's crew missed or ignored. Many builders also have financial incentives to minimize defect identification, they want to avoid costly repairs before closing.
Your home inspection is also your due diligence. If you discover serious defects after closing and try to enforce the builder warranty, the builder will argue that you should have caught the problems during your inspection. A professional inspection report protects you by documenting the home's condition at the time of purchase.
First-time homebuyers especially benefit from professional inspections. You don't have the experience to know what's normal and what's a red flag. A professional inspector brings that expertise and explains findings in terms you understand.
The inspection fee, typically $400-600 depending on the home's size and complexity, is one of the best investments you'll make. Discovering a $5,000 HVAC problem or a $20,000 foundation issue before closing gives you negotiating use. After closing, you're stuck with the bill.
Pre-Drywall vs. Final Walkthrough Inspections
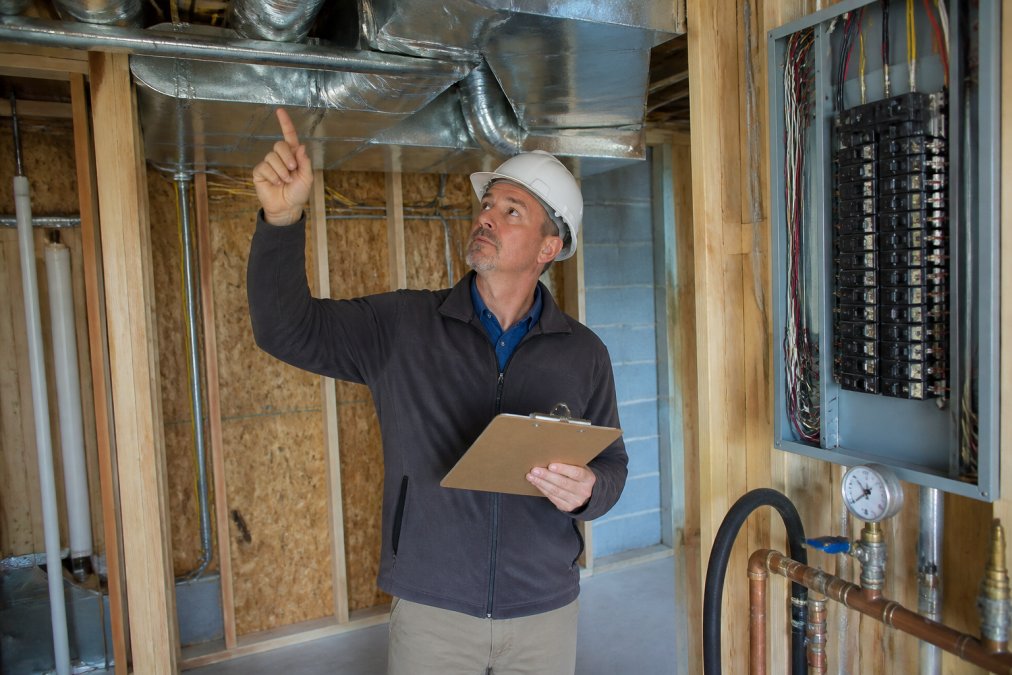
Many builders offer a pre-drywall inspection opportunity, which allows you to see the home's framing, electrical, plumbing, and HVAC systems before they're covered by drywall. This is valuable because once walls are closed, you can't see these critical systems anymore.
During a pre-drywall walkthrough, you can verify that framing is adequate, electrical and plumbing are properly installed, and HVAC ductwork is correctly positioned. You can also check that insulation is properly installed and that there are no water stains or moisture problems in the framing.
The final walkthrough happens just before closing, when the home is complete. This is when you verify that all punch list items have been completed, fixtures are installed correctly, and there are no new defects. You also verify that all appliances and fixtures promised in your purchase agreement are actually installed.
Many buyers skip the pre-drywall inspection thinking the final walkthrough is sufficient. This is a mistake. The final walkthrough can only verify what's visible. Hidden defects in framing, electrical, or plumbing won't be discovered until months or years later when they cause problems.
Ideally, you should have both inspections. The pre-drywall inspection catches hidden defects while you still have use to demand corrections. The final walkthrough ensures the completed home matches your purchase agreement and has no obvious defects.
Using Your Inspection Report to Enforce Builder Warranties
Your inspection report is a legal document that proves the home's condition at the time of purchase. When you need to enforce a builder warranty claim, this report becomes your evidence.
Builder warranties typically cover structural defects for 10 years, major systems for 2-5 years, and materials/workmanship for 1 year. However, builders will dispute claims by arguing the defect existed before you took ownership or resulted from your negligence. Your inspection report with dated photos and detailed notes proves otherwise.
Document everything in writing. If the builder agrees to fix something, get it in writing with specific completion dates. Don't accept verbal promises. If the builder refuses to fix something you believe is a warranty defect, your inspection report provides the documentation you need to pursue a claim.
Keep copies of your inspection report in a safe place. You may need it years later when a defect appears. Builders sometimes go out of business, making warranty claims impossible, your inspection report at least documents what you purchased and proves you weren't responsible for the defect.
Some builders try to limit warranty coverage by claiming the home was "as-is" at closing. Your inspection report and your purchase agreement protect you against this argument. The purchase agreement typically states the home will be in good condition at closing, and your inspection proves whether that's true.
A new construction home inspection is your protection against expensive defects and your use for repairs before closing. The inspection checklist covers foundation integrity, structural components, roofing, HVAC systems, plumbing, and electrical safety, every major system in your home. Defects are common in new construction, and many only become apparent months or years after closing when they're your responsibility to fix.
Bernie Krause is a dedicated real estate agent in the East Valley, committed to helping clients navigate the housing market. Whether you're searching for your dream home or looking to sell your current property, Bernie provides expert guidance and support throughout the entire process. With a focus on the East Valley real estate landscape, Bernie Krause is your trusted partner for all your home buying and selling needs. Contact Bernie Krause today for guidance on your new construction home purchase.
=== FAQ ANSWERS (audit these too, same rules) ===
[1] Q: Do I really need a home inspection for a brand-new home? A: Yes. New construction homes are built by humans and subject to construction errors, code violations, and material defects just like any other property. A third-party inspector identifies issues before you close, giving you leverage to request repairs or credits. Builder inspections are designed to pass, not to protect you. An independent inspector catches structural problems, HVAC inefficiencies, plumbing leaks, and electrical code violations that could cost thousands to fix after purchase.
[2] Q: What are the most common defects found in new construction homes? A: Common defects include incomplete caulking and weatherproofing, HVAC ductwork leaks, improper grading causing drainage issues, electrical code violations, plumbing leaks, roof ventilation problems, and missing or inadequate insulation. In the East Valley, expansive soil and caliche layers can cause foundation movement if site grading and drainage aren't done correctly. Many defects are cosmetic, but some, like moisture intrusion or load-bearing wall issues, require immediate attention before they become expensive repairs.
[3] Q: When should a new construction inspection be scheduled? A: Schedule a pre-drywall inspection before walls are closed, when structural components, electrical rough-ins, plumbing lines, and HVAC ductwork are still visible. This catches framing issues, code violations, and installation errors before they're hidden. Then schedule a final walkthrough inspection just before closing to verify all punch list items were completed and no new defects appeared. Both inspections are critical for complete due diligence.
[4] Q: What is the biggest red flag during a new construction home inspection? A: Foundation cracks, water damage, or signs of moisture intrusion are major red flags. Also watch for improper site grading that directs water toward the foundation, missing load-bearing wall bracing, electrical panel issues, and HVAC systems that don't meet building code. Any pattern of shortcuts, incomplete caulking, missing fasteners, poor workmanship, signals a builder cutting corners. These warrant a detailed repair request or price credit before closing.
Frequently Asked Questions
Do I really need a home inspection for a brand-new home?
Yes. New construction homes are built by humans and subject to construction errors, code violations, and material defects just like any other property. A third-party inspector identifies issues before you close, giving you leverage to request repairs or credits. Builder inspections are designed to pass, not to protect you. An independent inspector catches structural problems, HVAC inefficiencies, plumbing leaks, and electrical code violations that could cost thousands to fix after purchase.
What are the most common defects found in new construction homes?
Common defects include incomplete caulking and weatherproofing, HVAC ductwork leaks, improper grading causing drainage issues, electrical code violations, plumbing leaks, roof ventilation problems, and missing or inadequate insulation. In the East Valley, expansive soil and caliche layers can cause foundation movement if site grading and drainage aren't done correctly. Many defects are cosmetic, but some, like moisture intrusion or load-bearing wall issues, require immediate attention before they become expensive repairs.
When should a new construction inspection be scheduled?
Schedule a pre-drywall inspection before walls are closed, when structural components, electrical rough-ins, plumbing lines, and HVAC ductwork are still visible. This catches framing issues, code violations, and installation errors before they're hidden. Then schedule a final walkthrough inspection just before closing to verify all punch list items were completed and no new defects appeared. Both inspections are critical for complete due diligence.
What is the biggest red flag during a new construction home inspection?
Foundation cracks, water damage, or signs of moisture intrusion are major red flags. Also watch for improper site grading that directs water toward the foundation, missing load-bearing wall bracing, electrical panel issues, and HVAC systems that don't meet building code. Any pattern of shortcuts, incomplete caulking, missing fasteners, poor workmanship, signals a builder cutting corners. These warrant a detailed repair request or price credit before closing.
This article was written using GrandRanker