
 how-to
What Is Included in a Pre-Drywall Inspection?
Table of Contents
- What Is Included in a Pre-Drywall Inspection?
- Pre-Drywall Inspection Checklist: A Room-by-Room Guide
- What to Look For in a Pre-Drywall Inspection
- How Long Does a Pre-Drywall Inspection Take?
- Questions to Ask at a Pre-Drywall Meeting
- What Homeowners Can Check vs. What Needs a Licensed Pro
- Documenting Findings and Getting Repairs Done Before Drywall
- Conclusion
- Frequently Asked Questions
Last Updated: October 12, 2026
What Is Included in a Pre-Drywall Inspection?
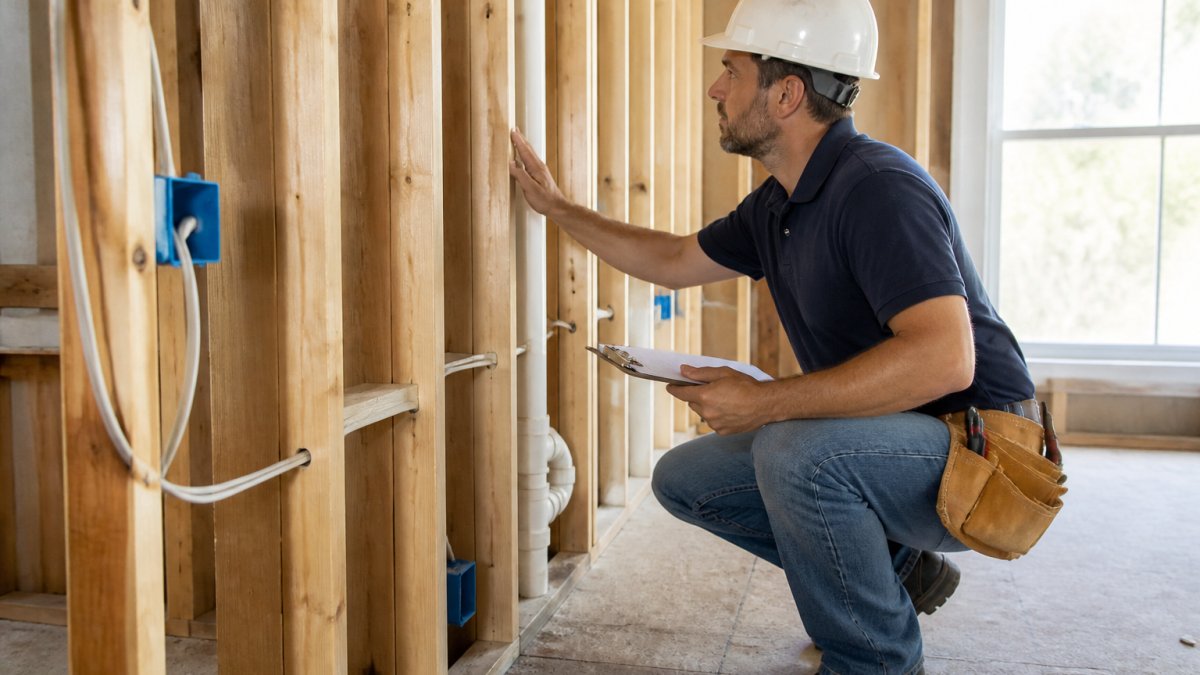
A pre-drywall inspection is a visual review of a home's framing, electrical, plumbing, and HVAC systems before drywall covers them. According to the International Association of Certified Home Inspectors, this stage gives buyers a rare look at work that will soon be hidden.
Most buyers skip this step. That is a mistake.
Once drywall goes up, a missing outlet or a cracked pipe joint becomes a demolition job. Before drywall, it is a ten-minute fix.
So what actually gets checked? Here is the short answer:
- Structural framing and load-bearing components
- Foundation, floor joists, and roof framing
- Electrical wiring, outlets, and fixture boxes
- Plumbing supply and waste pipes
- HVAC equipment and ductwork
- Insulation and moisture barriers
- Safety issues and building-code compliance
Below, we break down each system, plus a room-by-room checklist you can use on site.
Pre-Drywall Inspection Checklist: A Room-by-Room Guide
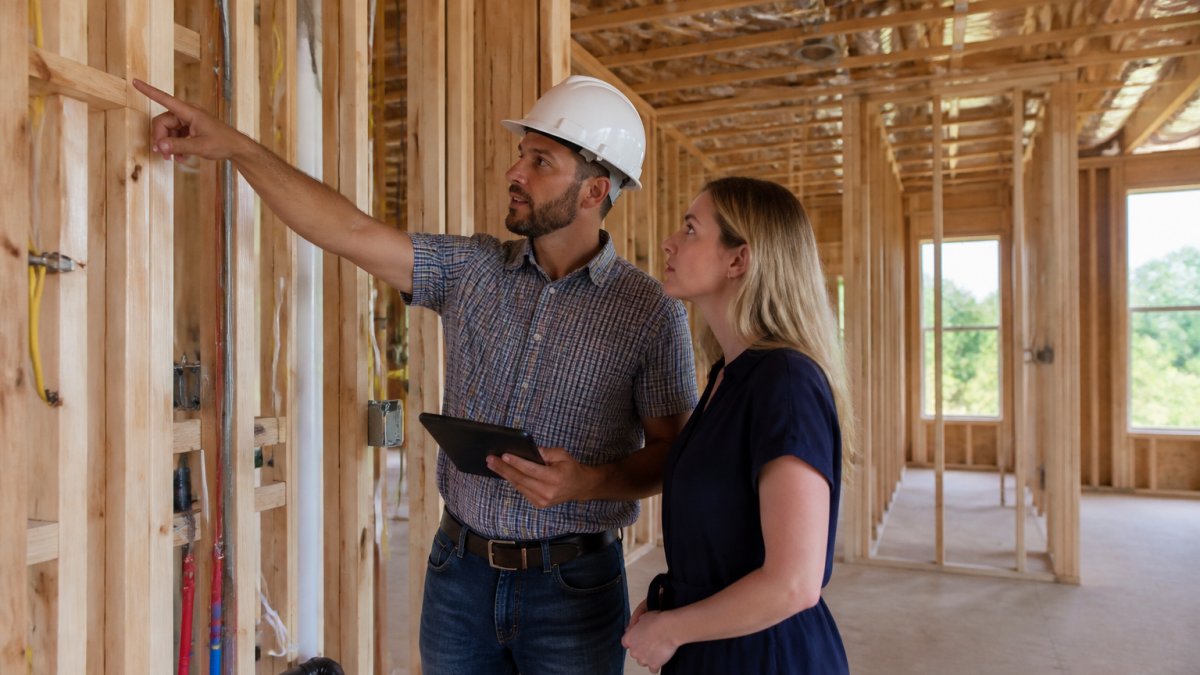
A pre-drywall inspection checklist works best when you walk the house the way the trades did: outside first, then room by room. The U.S. Department of Housing and Urban Development notes that most construction defects surface during the rough-in stage, before finishes hide them. This walkthrough is written for a homeowner with a phone camera and a tape measure, not a licensed inspector.
Exterior and Structural Systems
Start at the foundation. Walk the perimeter and photograph the slab or stem wall for cracks wider than a hairline, and check the retaining wall and grading for drainage that slopes toward the house. Inside, scan the floor joists, wall framing, and roof framing for gaps, warping, or missing blocking.
For each structural item, take two photos: a wide shot that shows the room and wall, and a close-up of the defect. Note the joist or stud spacing you measure (commonly 16 or 24 inches on center) and whether any joist has been notched or bored in a way that weakens it.
Kitchen
- Outlets above counters, including any island or peninsula receptacles
- Supply and waste pipes under the sink, with the cabinet base visible
- Range hood venting routed to the exterior, not into an attic
- Dishwasher supply line and drain connection
- Refrigerator water line, if the plan calls for one
Photograph the underside of the sink cabinet and the wall behind the range. Confirm the vent hood duct is continuous and terminates outside.
Bathrooms
- Fixture locations for toilet, sink, and tub or shower
- Vent fan ducted to the exterior, not just into the attic
- Drain slope on the shower and tub waste lines
- Water supply stub-outs aligned with the planned fixtures
- Any blocking for grab bars or shower doors
Measure the distance from the finished wall to each stub-out and compare it to the plan. A stub-out that is off by an inch or two can force a fixture to sit crooked later.
Bedrooms and Living Areas
- Outlet and switch placement, including any switched receptacle
- Closet lighting and its switch location
- Smoke and carbon monoxide alarm rough-in boxes
- Window and door framing square and plumb
- Any low-voltage wiring for internet, cable, or security
Measure room dimensions while you are there. Square rooms and correct framing are easy to confirm now and painful to dispute later. Photograph each wall before insulation goes in so you have a record of what is behind it.
Laundry
- Dryer vent routing, with a short, straight run to the exterior
- Washer supply valves and drain standpipe
- 240-volt receptacle for the dryer, if electric
- Floor drain or pan, if the plan includes one
A long, flexible dryer duct that snakes through a wall is a common defect. Photograph the full run.
Garage
- GFCI outlets, including any on the exterior
- Firewall between the garage and living space, with no gaps
- Door from garage to house with the correct self-closing hardware
- Slab slope toward the garage door
Attic and Roof Framing
- Roof sheathing and framing for gaps or water staining
- Attic ventilation at the soffit and ridge
- Any HVAC equipment or ductwork located in the attic
- Insulation baffles at the eaves
Photograph the underside of the roof deck where you can reach it. Water staining now often means a flashing or underlayment problem that will not fix itself.
How to Use the Photos
Keep a simple log: room, wall, item, and a one-line note. When you send the list to your builder, attach the wide shot and the close-up for each item so there is no debate about location. This photo record is also what you will rely on if a dispute arises after closing.
What to Look For in a Pre-Drywall Inspection
The biggest mistake is treating this as a quick look. A proper pre-drywall inspection targets framing defects, installation quality, and workmanship that will be sealed away.
Watch for these red flags:
- Notched or bored joists in the wrong place
- Electrical wiring run through sharp metal without protection
- Plumbing vents that stop short of the roof
- Ductwork crushed or disconnected behind walls
- Missing insulation in exterior walls
- Signs of water damage or moisture issues on framing
How Long Does a Pre-Drywall Inspection Take?
A pre-drywall inspection duration typically runs one to three hours for an average single-family home. Larger homes or homes with complex mechanical systems take longer.
Plan for the visit to happen right after the rough-in trades finish and before insulation goes in. That window is short, so schedule it the moment your builder confirms the framing is complete.
Questions to Ask at a Pre-Drywall Meeting
A pre-drywall meeting is your chance to get answers in person. Bring a written list and take notes.
Ask these questions:
- Which items from the last inspection are still open?
- Can I get a copy of the approved plans and permits?
- Who is my point of contact for punch-list items?
- What is the deadline to submit repair requests before drywall?
- Will the builder fix defects found by my independent inspector?
The U.S. Consumer Financial Protection Bureau recommends keeping every document related to your new home, including inspection reports and builder correspondence.
What Homeowners Can Check vs. What Needs a Licensed Pro
You can absolutely walk the house yourself. But some checks require a state license and proof of insurance, and a pre-drywall inspection has real limits you should understand before you rely on it. A visual walkthrough does not test systems under load, does not open sealed assemblies, and does not certify code compliance. Most inspectors describe their work as a visual, non-invasive review of readily accessible components.
| Task | Who Should Do It | Why |
|---|---|---|
| Visual framing walkthrough | Homeowner | No tools or license needed |
| Outlet and switch count | Homeowner | Simple visual count |
| Room dimensions | Homeowner | Tape measure is enough |
| Photo documentation of defects | Homeowner | Phone camera is enough |
| Structural load-bearing review | Licensed inspector or engineer | Requires engineering knowledge |
| Electrical panel and wiring | Licensed electrician | Safety and code risk |
| Plumbing pressure and slope | Licensed plumber | Specialized testing |
| HVAC ductwork and airflow | Licensed HVAC tech | Requires diagnostic tools |
| Radon, mold, or pest concerns | Licensed specialist | Separate testing protocols |
What a Pre-Drywall Inspection Does Not Cover
A pre-drywall inspection is not the same as a municipal code inspection. City or county inspectors check minimum compliance with the adopted building code, not workmanship. A cracked joist or a sloppy wire run can pass code and still cost you thousands later. The inspection also does not cover items that are concealed, cosmetic, or outside the scope the inspector lists in the agreement.
Most inspectors ask you to sign a liability release before the walkthrough. Read it. It limits what they are responsible for, not what you can ask. If the agreement excludes something you care about, ask about it before the inspection, not after.
Why an Independent Inspection Is Worth Considering
A municipal inspector may visit the site several times during construction, but those visits are for code compliance and are not a substitute for a buyer's independent review. An independent inspector works for you, documents findings in a report you keep, and can answer questions the code inspector will not. If your builder offers a walkthrough, treat it as a supplement, not a replacement.
When to Bring in a Specialist
If the framing walkthrough turns up anything structural, electrical, or mechanical that you do not fully understand, stop and bring in the right trade. A licensed electrician can open a panel and test circuits. A licensed plumber can pressure-test supply lines and check drain slope. An HVAC tech can measure static pressure and confirm duct sizing. These are not homeowner tasks, and the cost of a specialist visit before drywall is almost always less than the cost of opening a finished wall.
Documenting Findings and Getting Repairs Done Before Drywall
Photos are your best tool. Snap every defect with a wide shot and a close-up, and note the room and wall.
Then send a written summary to your builder. Keep it factual:
- What the issue is
- Where it is
- Why it matters
- What you want done
Conclusion
The gap between a smooth new-build closing and a stressful one usually comes down to what happened before the drywall went up. Most buyers never see that stage, and the problems stay hidden for years.
Bernie Krause helps East Valley buyers and sellers move through every stage of a real estate transaction, from new-construction walkthroughs to listing a current home. Bernie provides local market knowledge, patient guidance for first-time buyers, and hands-on support for relocations. Get started with Bernie Krause and take the guesswork out of your next move.
Frequently Asked Questions
Is a pre-drywall inspection worth the cost?
Yes. Once drywall goes up, the framing, electrical, plumbing, and HVAC rough-in are sealed behind walls. Catching a missing outlet, a misplaced supply pipe, or a framing defect before drywall means the builder fixes it while everything is still accessible. Post-drywall repairs cost far more and often get patched cosmetically rather than corrected properly. An independent inspection is a small upfront expense compared to the cost of tearing out finished walls later.
Can a home inspector check plumbing and electrical before drywall?
Yes, and this is one of the main reasons to schedule a pre-drywall inspection. During the rough-in stage, inspectors can see the full electrical wiring layout, outlet and fixture locations, supply and waste pipes, and HVAC ductwork. They verify placement, spacing, and visible workmanship against the approved plans. What they cannot do is test pressurized systems or confirm code compliance in the way a licensed electrician or plumber can, so some buyers hire specialists for a deeper look.
What happens after a pre-drywall inspection?
The inspector delivers a written report with photos documenting any defects, missing items, or deviations from the plans. You send that report to your builder and request a walkthrough to review each item. The builder schedules corrective work, and you should ask for confirmation, ideally with photos, that repairs are complete before drywall is installed. Keep the report on file; it becomes useful reference material at your final walkthrough and if any warranty issues come up later.
Should I hire an independent inspector for a new construction home?
Yes. Municipal code inspectors verify minimum code compliance, not workmanship or your specific plan details. Builder superintendents work for the builder, not for you. An independent inspector with a state license and proof of insurance gives you an unbiased assessment of structural framing, mechanical systems, and installation quality. Ask the builder upfront whether they require a liability release for third-party inspectors, and get any access requirements in writing before you schedule.